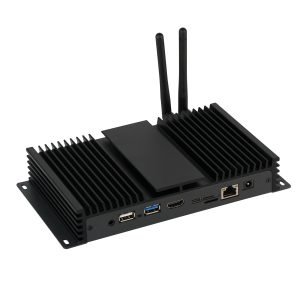
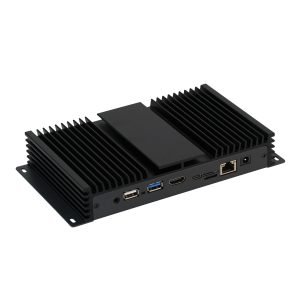

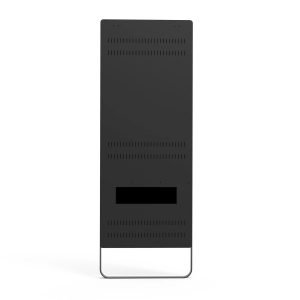
The Digital Screen Kiosk Project Checklist is very crucial. A successful digital screen kiosk project starts long before installation day. It begins with a clear business goal, a realistic site plan, the right display specification, and a content strategy that can scale with the business.
Why Planning Matters
Many kiosk projects fail for avoidable reasons: the screen is too small for the space, the software does not match the workflow, the site is not ready, or there is no long-term maintenance plan.
A good project checklist reduces those risks and helps teams move from concept to deployment with fewer delays, lower operating friction, and a better user experience.
Digital Screen Kiosk Project Checklist includes
Define the Business Goal
Every kiosk should solve a specific problem. Some projects focus on wayfinding, while others are built for self-service, ticketing, check-in, menu browsing, or promotional content.
Before choosing hardware, ask these questions:
-
What task should the kiosk complete?
-
Who will use it?
-
Will the interaction be quick, guided, or transactional?
-
What business result matters most: efficiency, engagement, conversion, or service quality?
Clear goals keep the project focused and prevent unnecessary spending on features the application does not need.
Match the Use Case
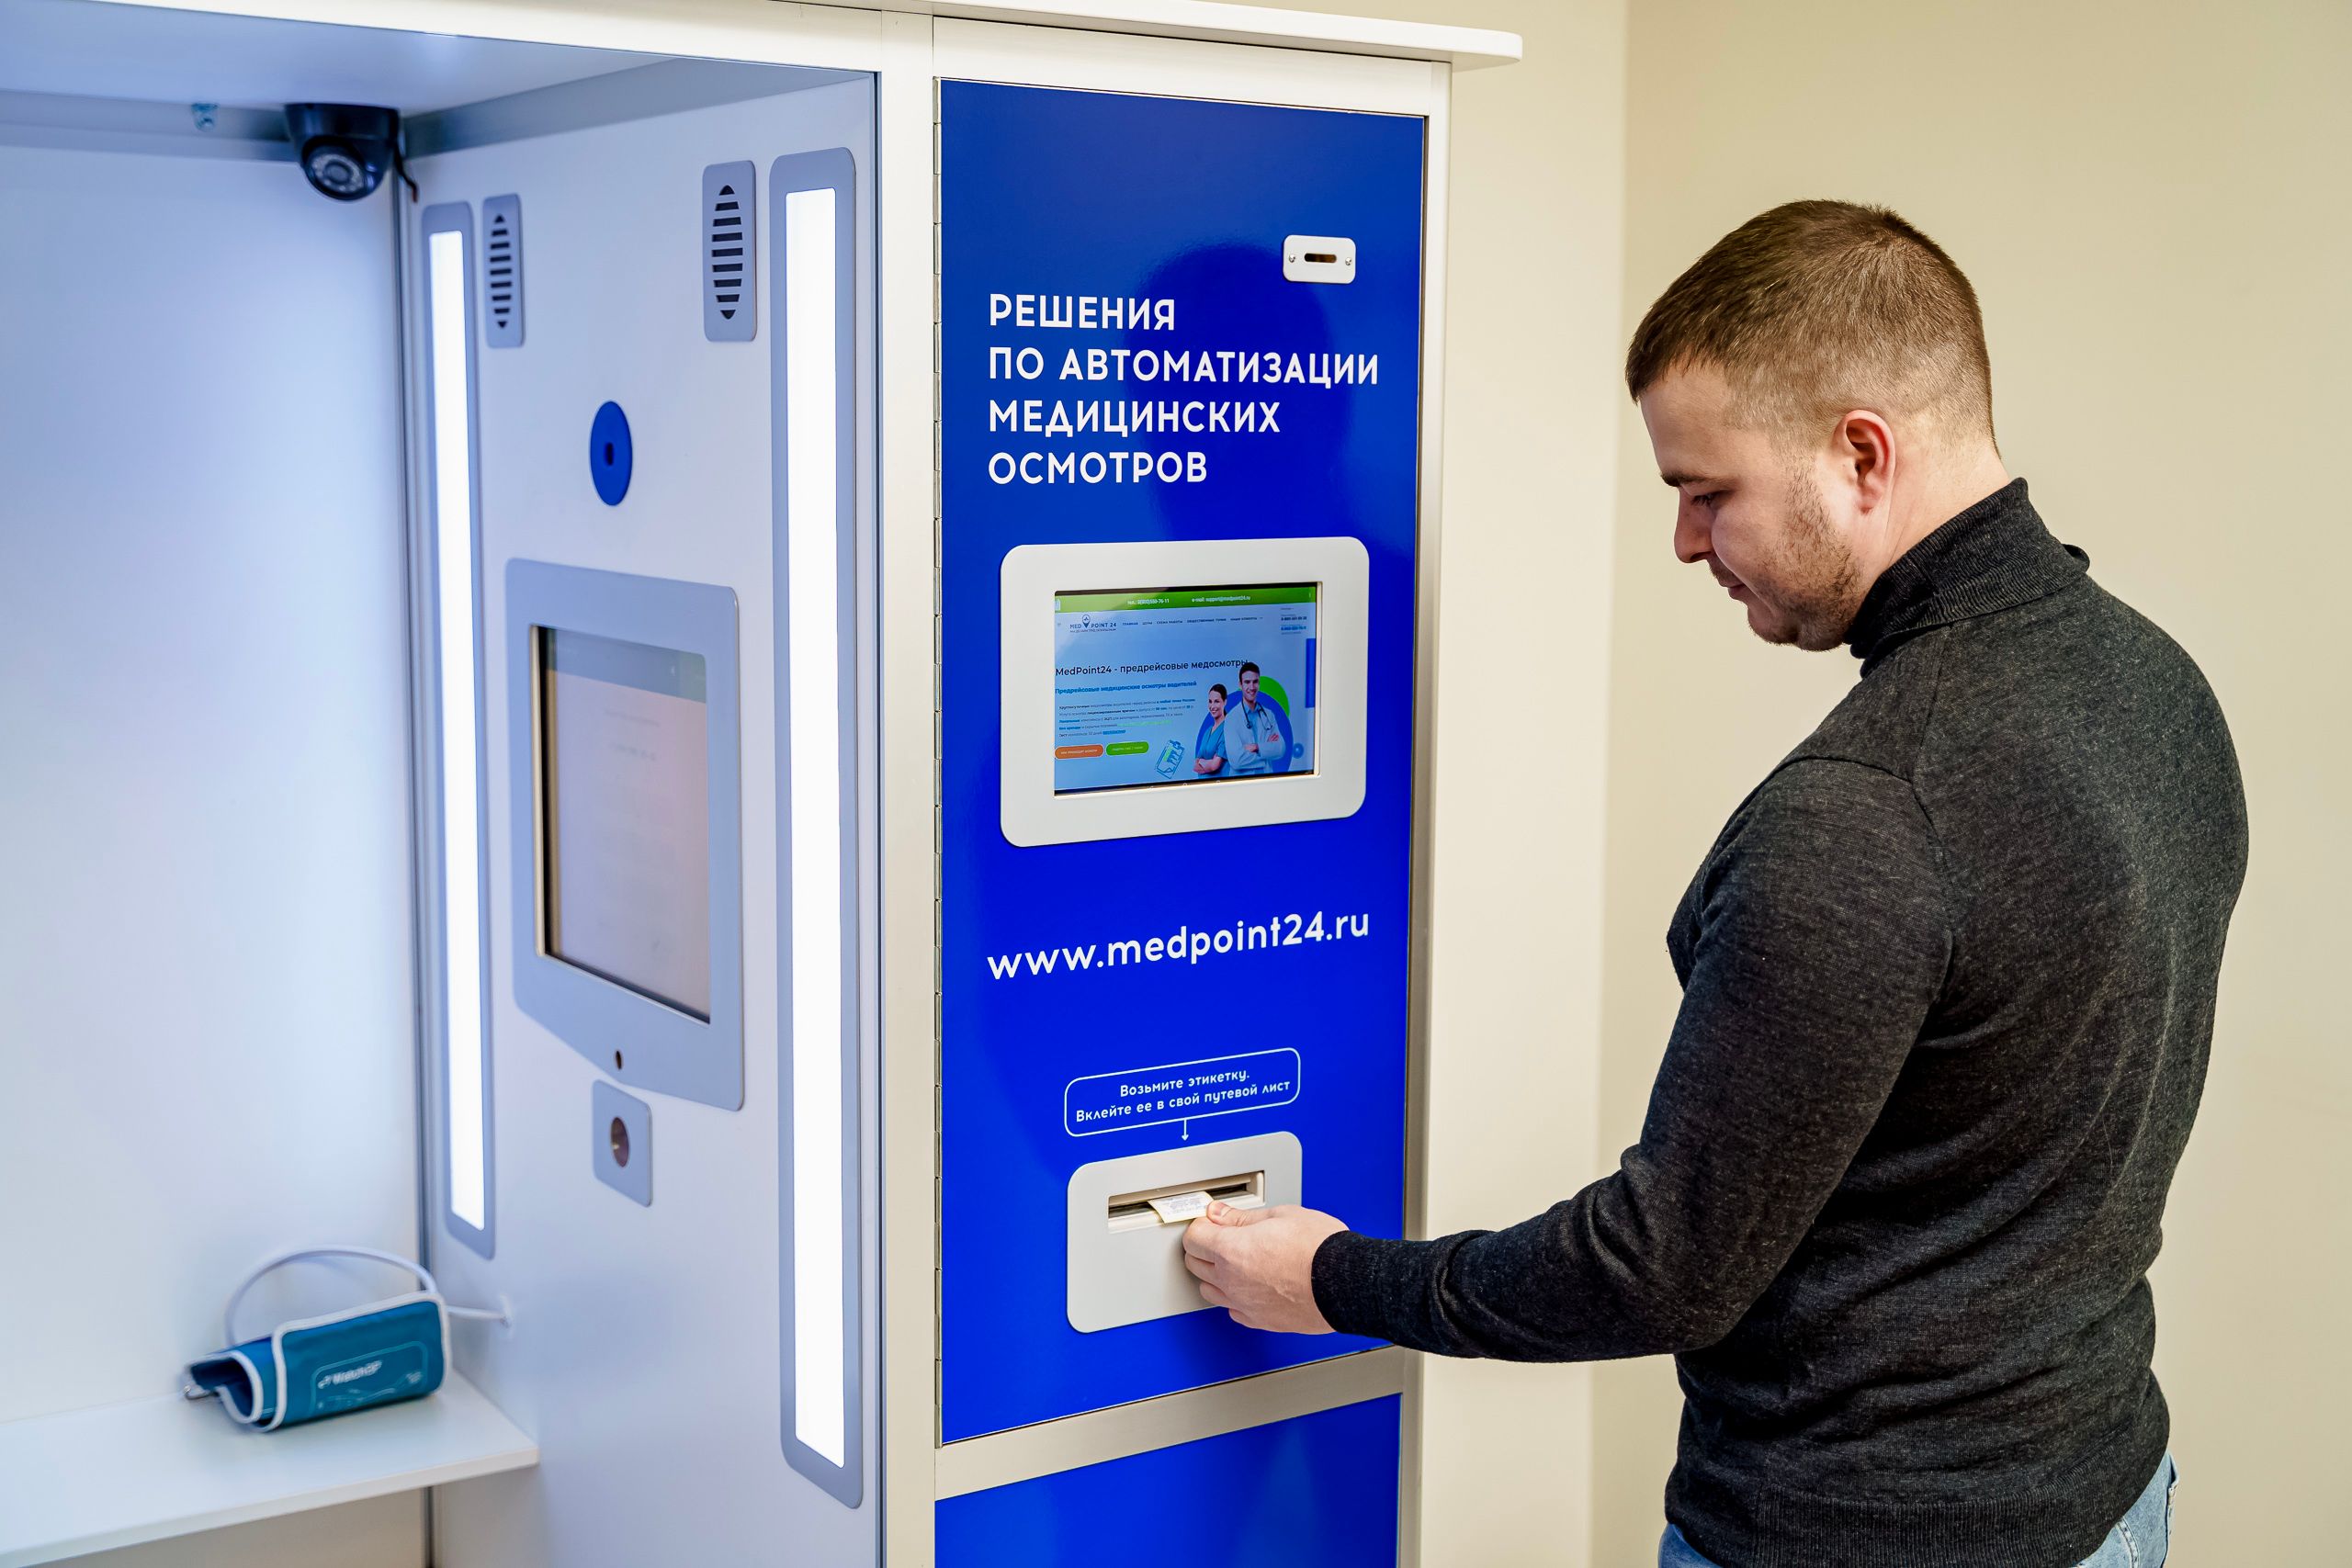
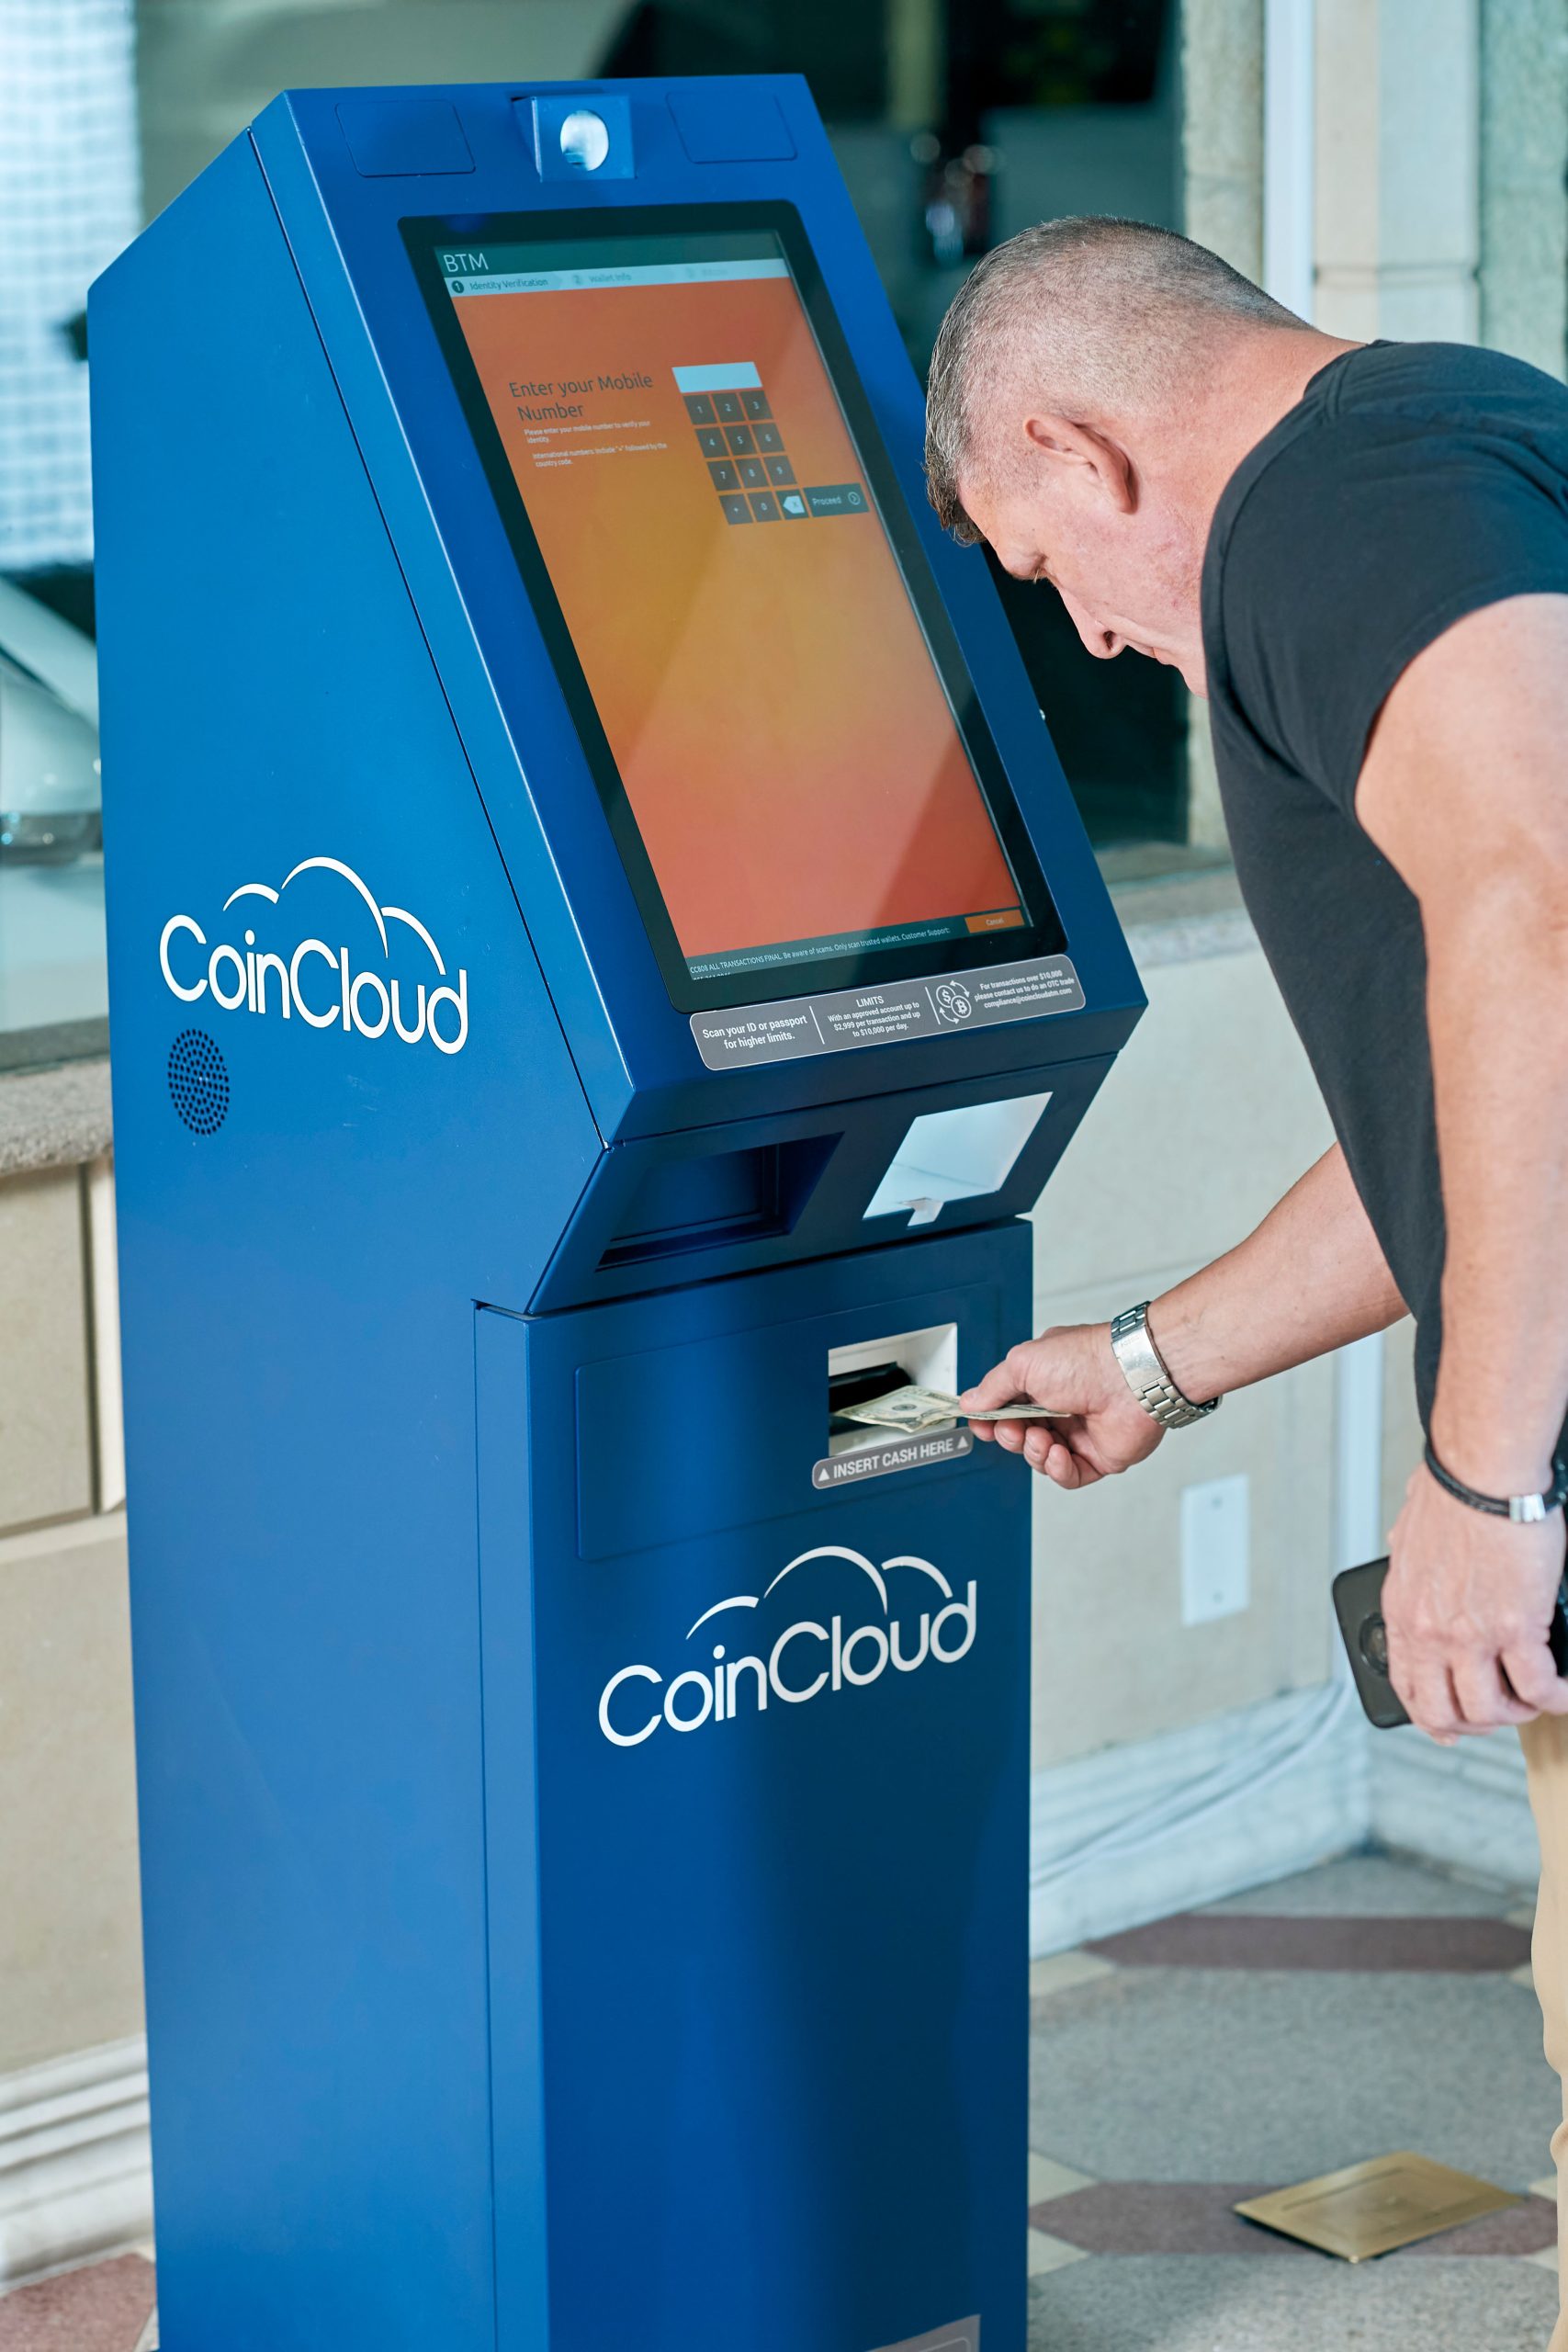
Not all kiosk deployments are the same. A retail kiosk, a hospital check-in terminal, a corporate lobby display, and an outdoor information point all have different expectations for durability, brightness, content, and software behaviour.
Common scenarios
-
Retail and shopping malls.
-
Quick service restaurants.
-
Healthcare and patient service areas.
-
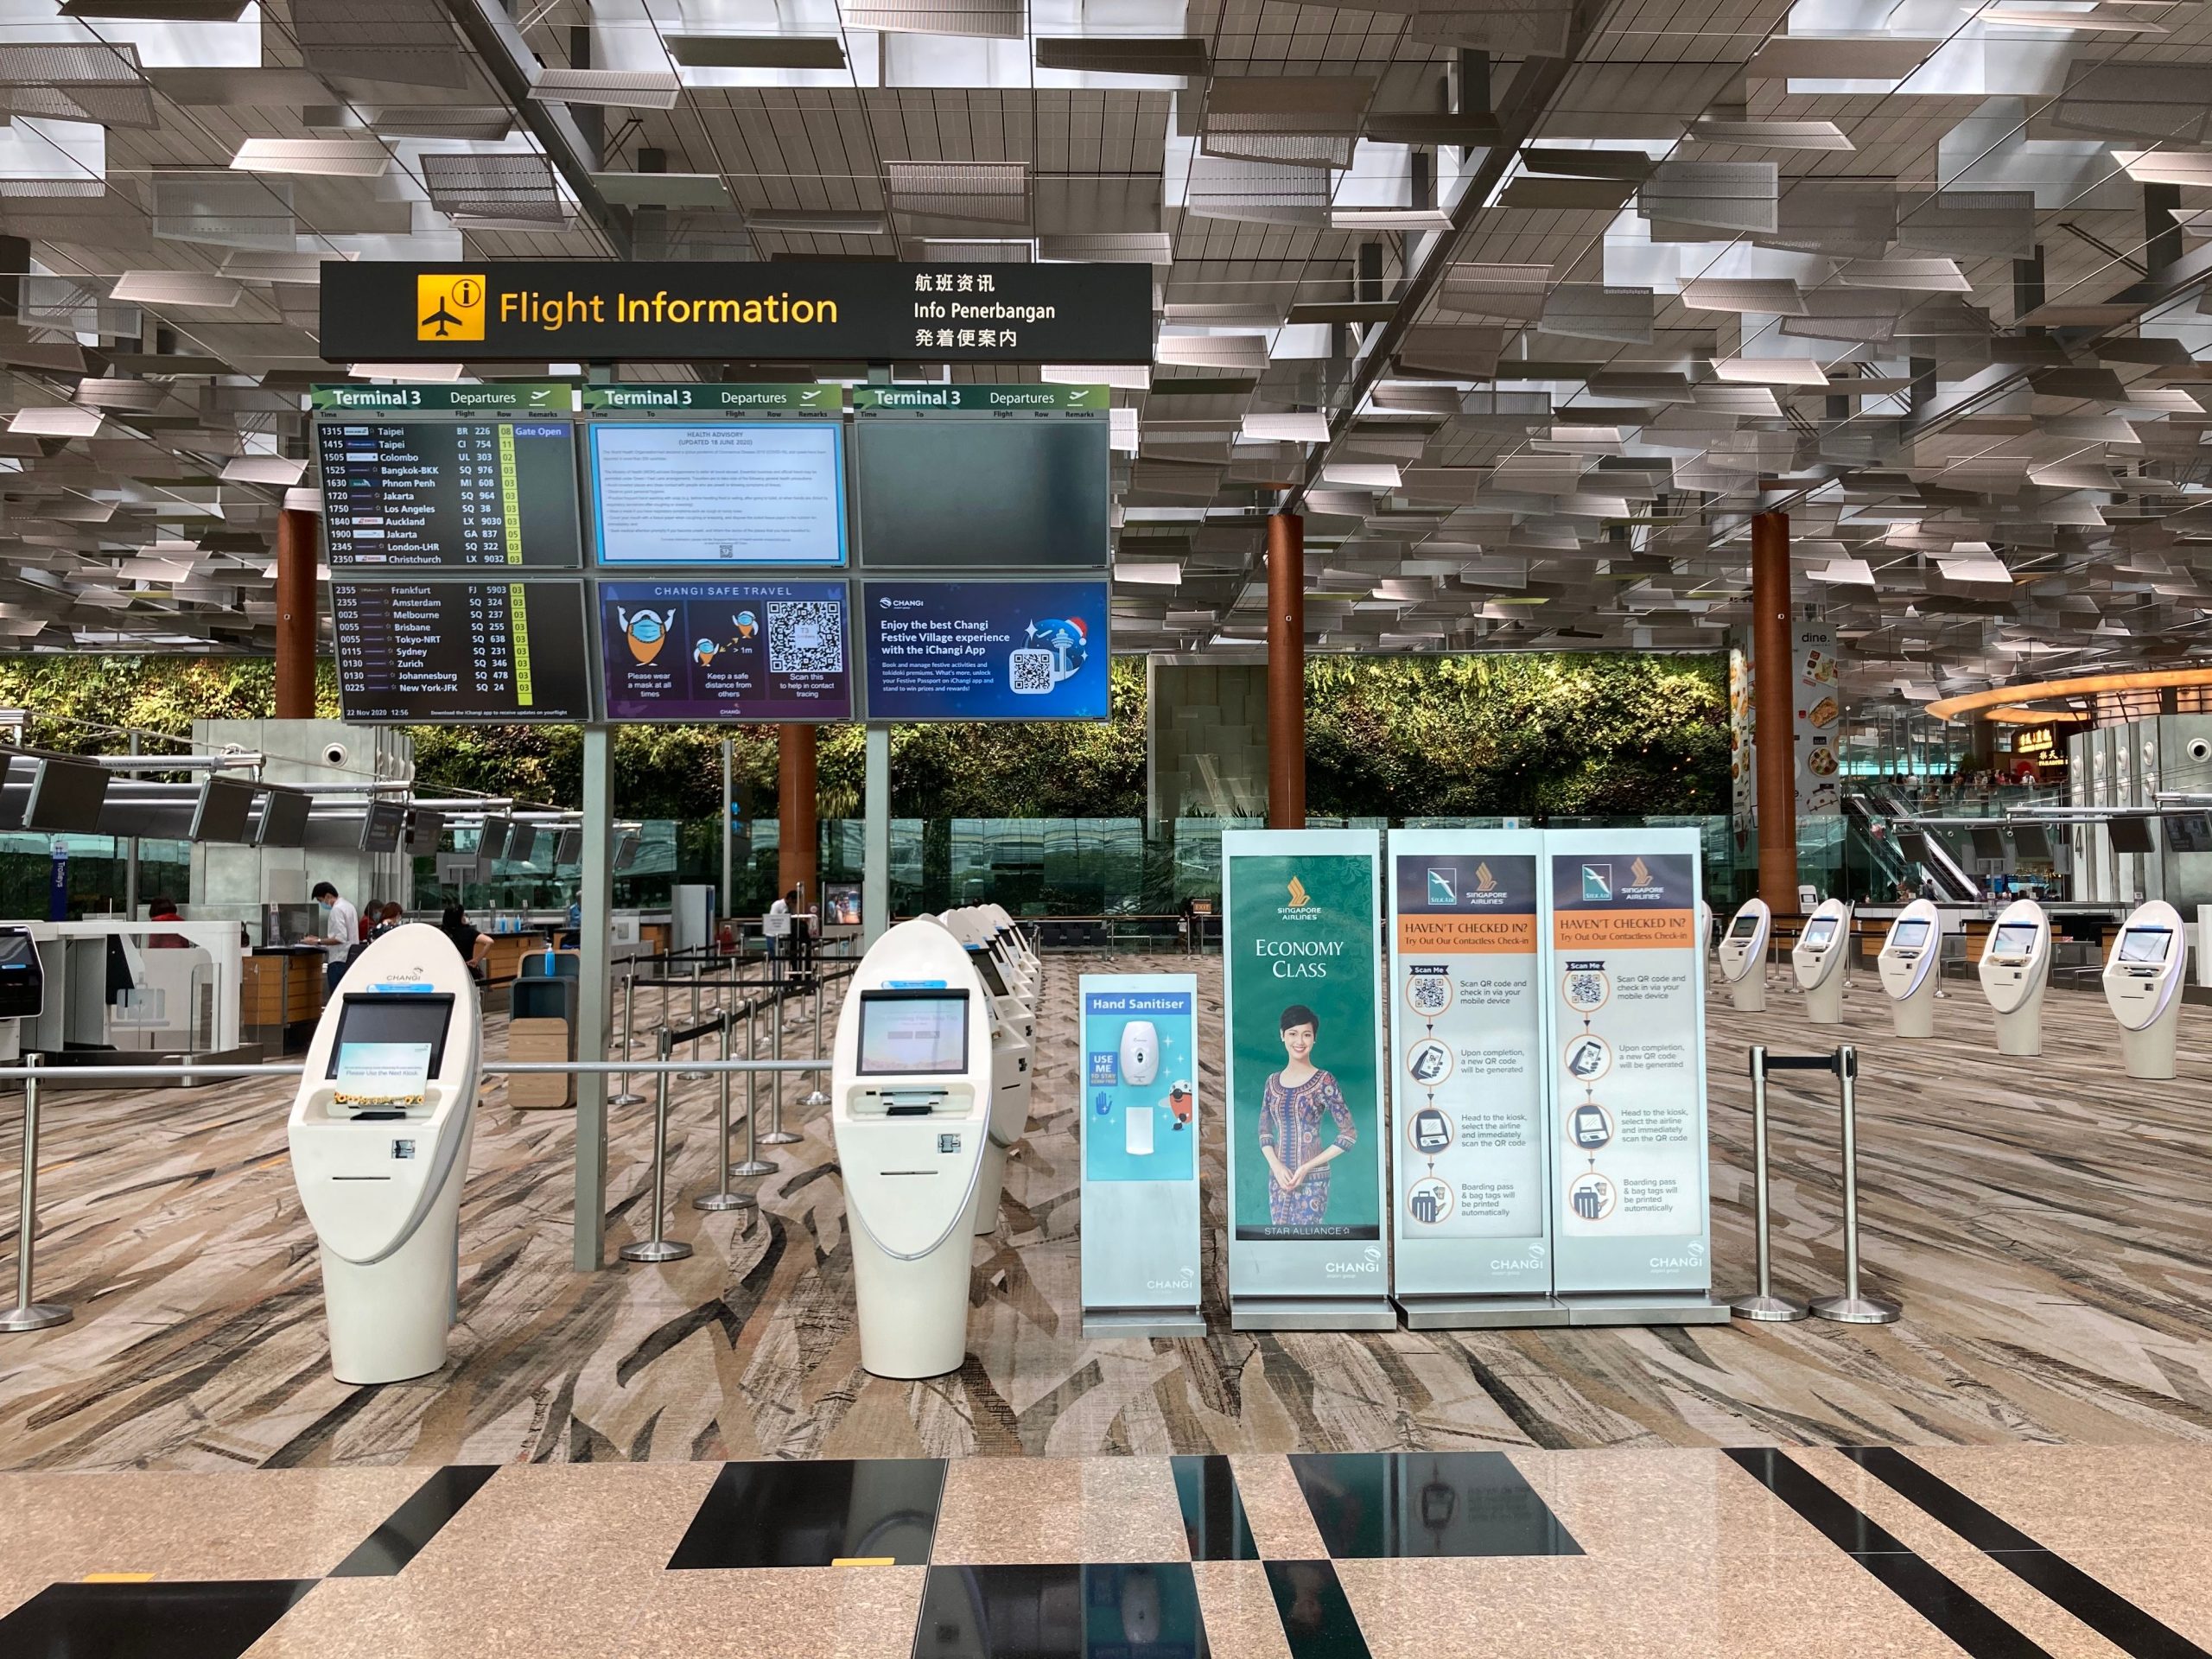
Transportation hubs.
-
Corporate lobbies.
-
Education campuses.
-
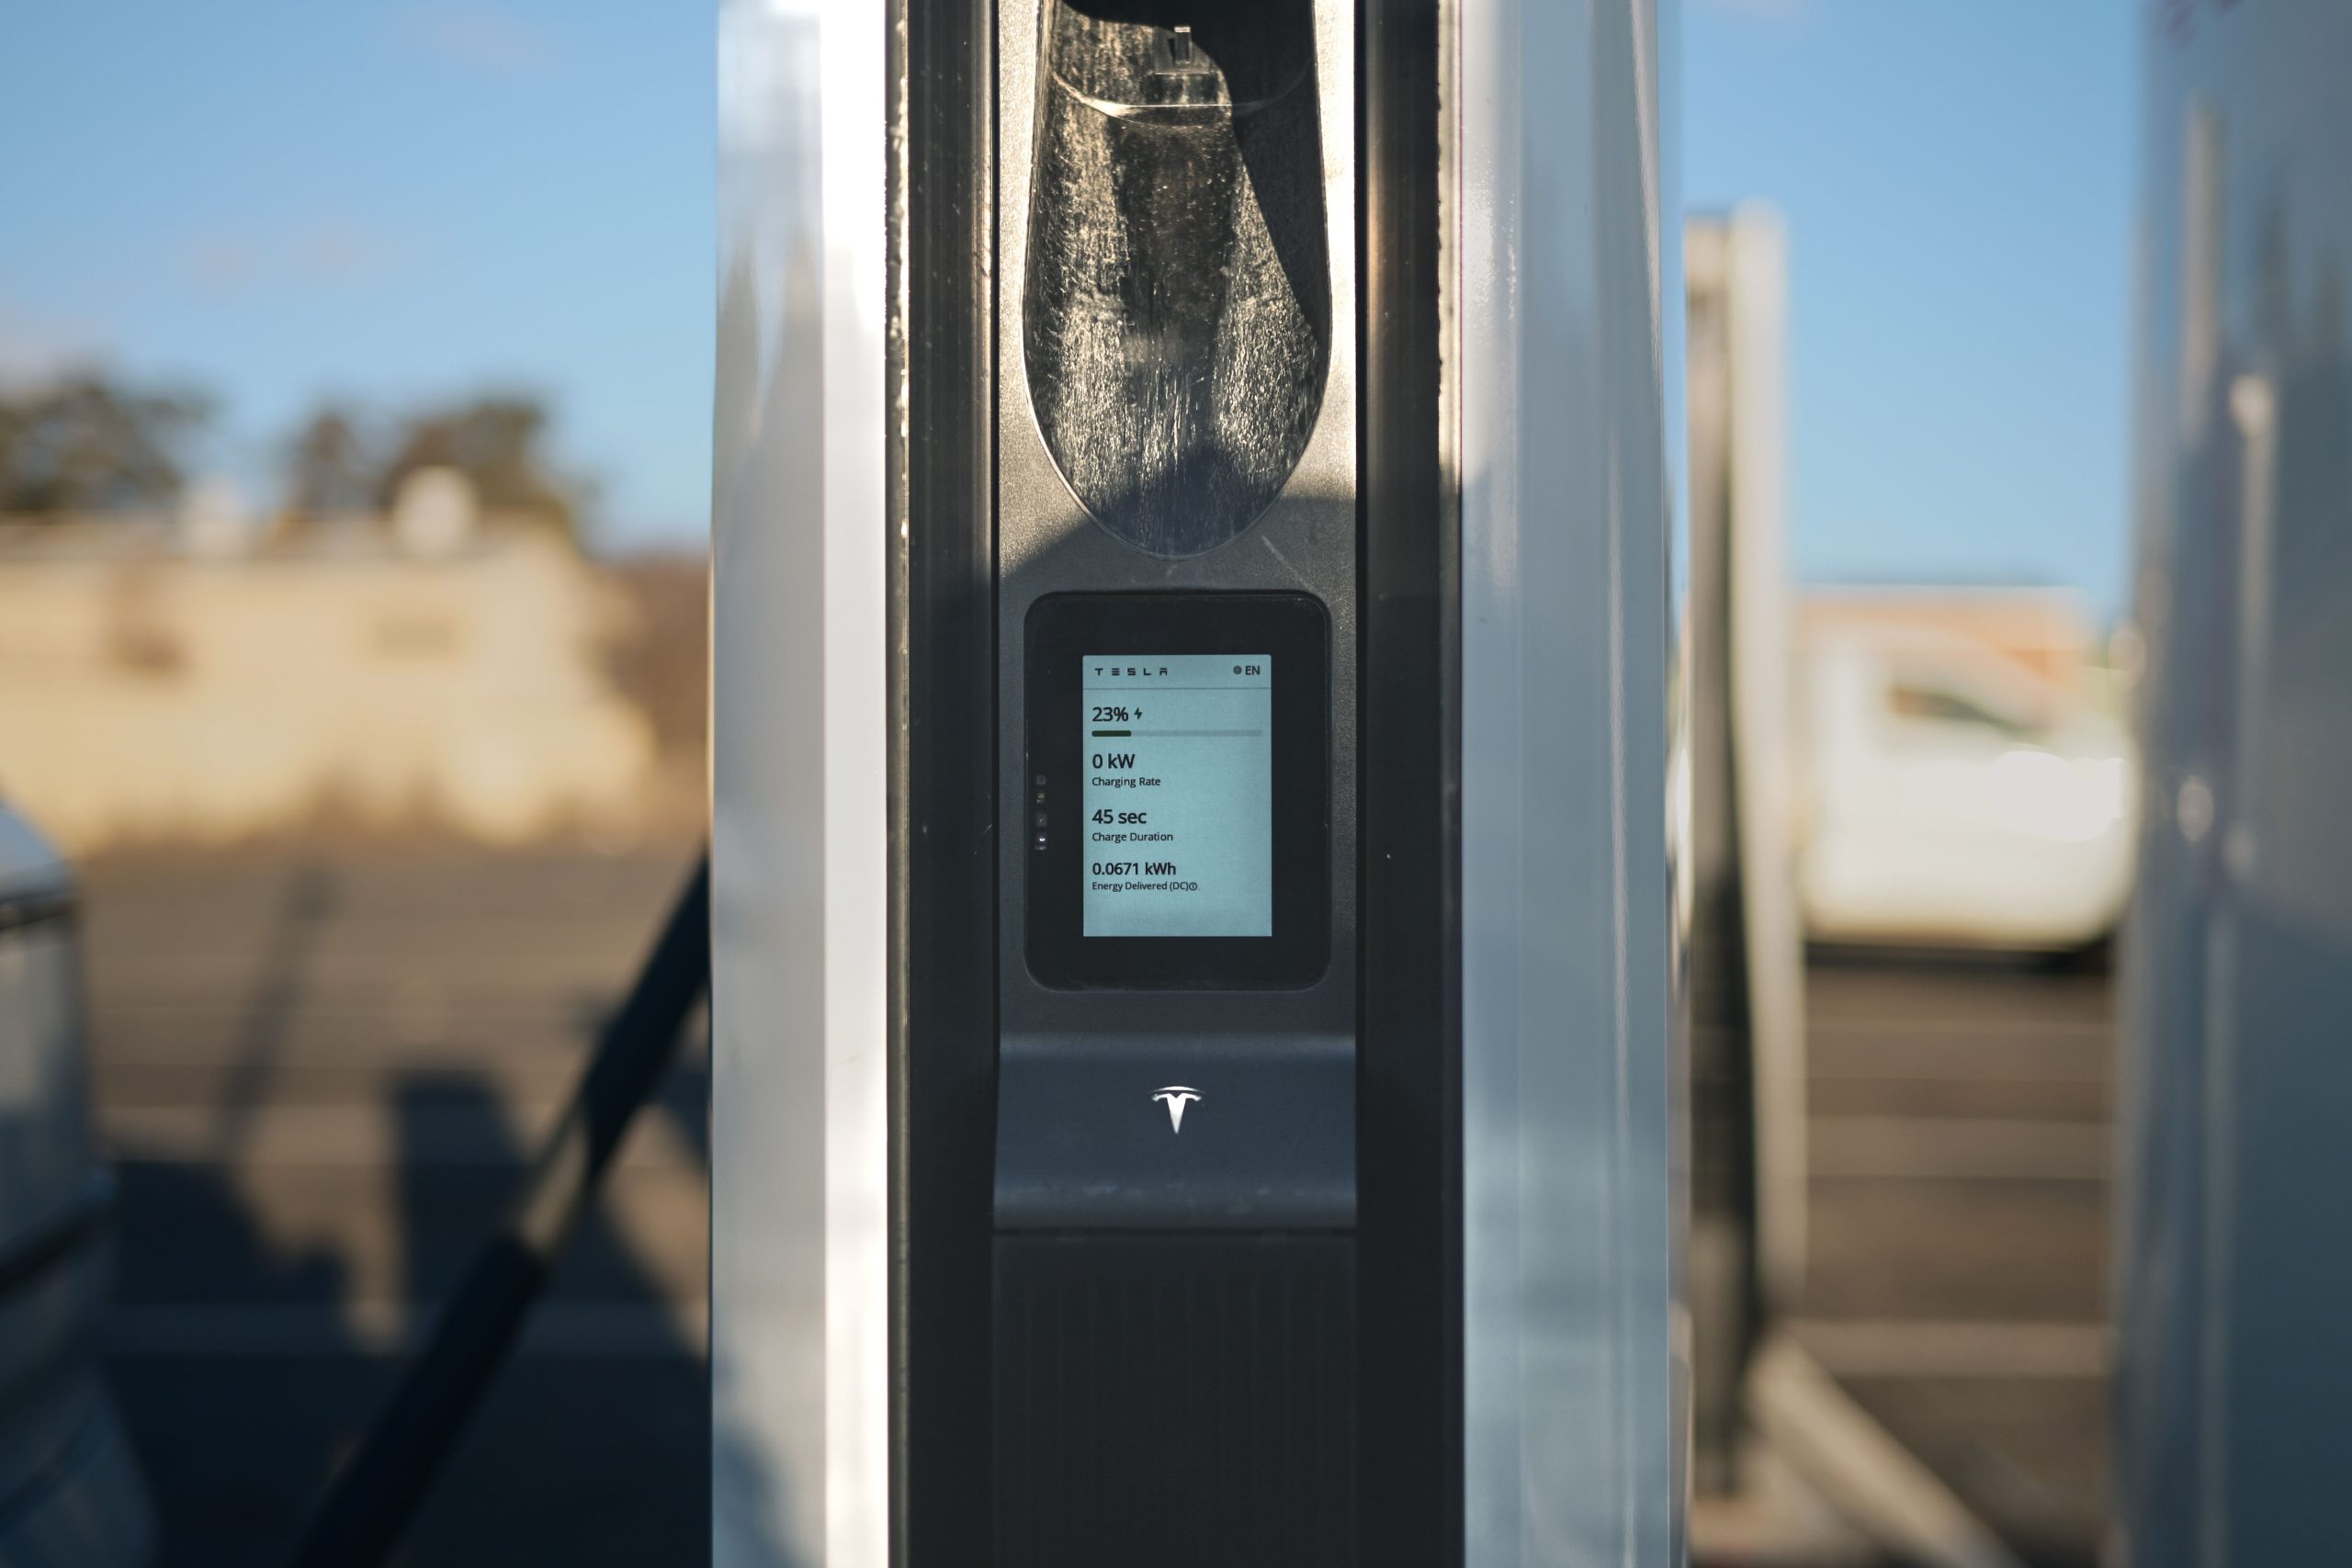
Outdoor public spaces.
Choosing the right use case early helps the rest of the project feel intentional and professional.
Choose the Right Display
The display is the most visible part of the kiosk, but it also shapes usability and long-term satisfaction. Screen size, brightness, resolution, viewing distance, and protective design all need to match the environment.
Display checklist
-
Size appropriate for the viewing distance.
-
Brightness suitable for indoor or outdoor light.
-
Resolution aligned with content detail.
-
Horizontal or vertical orientation is chosen for the content flow.
-
Anti-glare treatment or protective glass, if needed.
For outdoor or high-light environments, brightness and weather resistance become especially important. For indoor lobbies and retail spaces, clarity and user comfort often matter more.
Select the Operating System
The operating system determines how the kiosk runs, updates, and integrates with business tools. Android is often a strong choice for streamlined, content-driven kiosks, while Windows is typically better when the project requires broader software compatibility or enterprise integration.
OS checklist
-
Confirm whether the application is Android-based, Windows-based, or browser-based.
-
Check whether kiosk mode, auto-start, or watchdog recovery is required.
-
Confirm CPU, RAM, storage, and connectivity requirements.
-
Decide whether the kiosk will run locally or depend on cloud control.
-
Validate peripheral support for printers, scanners, or payment hardware.
Selecting the OS early avoids last-minute compatibility problems and keeps deployment on schedule.
Plan the CMS Workflow
If the kiosk content will change regularly, the CMS is just as important as the hardware. A strong CMS should support centralised publishing, scheduling, device monitoring, and role-based access.
CMS checklist
-
Centralised content control.
-
Role-based permissions.
-
Scheduling and playlist management.
-
Proof-of-play or reporting.
-
Device health monitoring.
-
Remote troubleshooting and updates.
For multi-location rollouts, CMS planning is essential because it keeps brand messaging consistent while still allowing local flexibility where needed.
Confirm Site Readiness
A kiosk is only as good as the site where it is placed. Before deployment, the installation location should be reviewed for power, network, physical space, visibility, and safety.
Site readiness checklist
-
Electrical access is available.
-
Network access is reliable.
-
The kiosk will fit the available space.
-
Cable routing is safe and clean.
-
Sightlines work for the target audience.
-
Accessibility requirements are reviewed.
-
Facility or landlord approval is complete where needed.
If the kiosk is going outdoors, site readiness should also include environmental exposure, security, and maintenance access.
Plan the Installation
The installation style should match the environment and the user journey. Freestanding, wall-mounted, and other mounting options each serve different purposes depending on traffic flow, available space, and support needs.
Installation checklist
-
Choose the mounting style early.
-
Confirm access for future maintenance.
-
Review tamper or theft risk.
-
Route power and data cleanly.
-
Make sure the screen is visible from the normal path of travel.
-
Allow space for service and replacement.
A well-planned installation makes the kiosk easier to support and less likely to interrupt operations later.
Prepare the Content
Even the best kiosk hardware will underperform without strong content. The content should be designed to help users complete their task quickly and confidently.
Content checklist
-
Define the main message for each screen.
-
Prepare brand-approved templates.
-
Localise content where needed.
-
Set update frequency and approval flow.
-
Build in emergency or priority messaging rules.
-
Test readability, motion, and call-to-action placement.
If the kiosk is interactive, the content should guide users through a clear path without overwhelming them with too many choices.
Pilot Before Full Rollout
A pilot is one of the most valuable steps in any kiosk project. It gives the team a chance to test hardware, software, content, and site conditions before scaling the solution.
Pilot checklist
-
Verify stable boot and playback behaviour.
-
Test touch response or display reliability.
-
Confirm CMS publishing and scheduling.
-
Check network performance in real use.
-
Gather feedback from staff and users.
-
Review support workflow and escalation steps.
Piloting helps teams catch issues early and improves confidence before a larger deployment.
Build Maintenance Into the Plan
A kiosk project should not end at installation. Updates, support, remote monitoring, and spare-part planning should all be part of the original project plan.
Maintenance checklist
-
Define software update procedures.
-
Set remote monitoring alerts.
-
Plan cleaning and inspection cycles.
-
Keep spare parts or replacement units ready.
-
Document support contacts and escalation paths.
-
Schedule content refreshes.
When maintenance is planned from the beginning, the kiosk network stays more reliable and easier to manage over time.
LCDSLD Solution Approach
LCDSLD’s kiosk content is built around the full journey from product selection to deployment. That means buyers can explore display options, deployment strategies, and remote management considerations in one ecosystem.
The value of that approach is simple: the best kiosk projects are not built around a single screen. They are built around the right combination of hardware, software, content, and support for the specific business goal.
Final Digital Screen Kiosk Project Checklist
Before launch, confirm these essentials:
-
The business goal is clear.
-
The use case is defined.
-
The display spec fits the environment.
-
The OS and media player are selected.
-
The CMS workflow is ready.
-
The site is ready for installation.
-
The content is prepared.
-
The pilot is complete.
-
The maintenance plan is in place.
Contact us if you have any projects to discuss.